
When you’re starting out as a streamer or YouTuber, it’s natural to zero in on the visuals—your webcam, overlays, transitions, gameplay resolution, all that good stuff. But here’s the thing: your audio matters just as much, if not more. A viewer might forgive a slightly pixelated video feed, but if your mic sounds like you’re trapped in a tin can or buried under static? They’re gone.
So if you’re asking questions like “How do I improve mic quality on Twitch?” or “How do I make my mic sound better on Discord?” you’re already on the right track.
Let’s walk through how to get great audio, step by step—and I promise you don’t need to be an audio engineer to pull this off.
Why Audio Quality Is So Important for Streamers
Poor audio can instantly kill a viewer’s experience. It’s distracting, unprofessional, and in a crowded space like Twitch or YouTube, it’s one of the quickest ways to lose viewers.
Clear audio makes your stream feel polished. It makes you sound confident. It keeps people engaged. And the best part? It doesn’t have to cost a fortune.
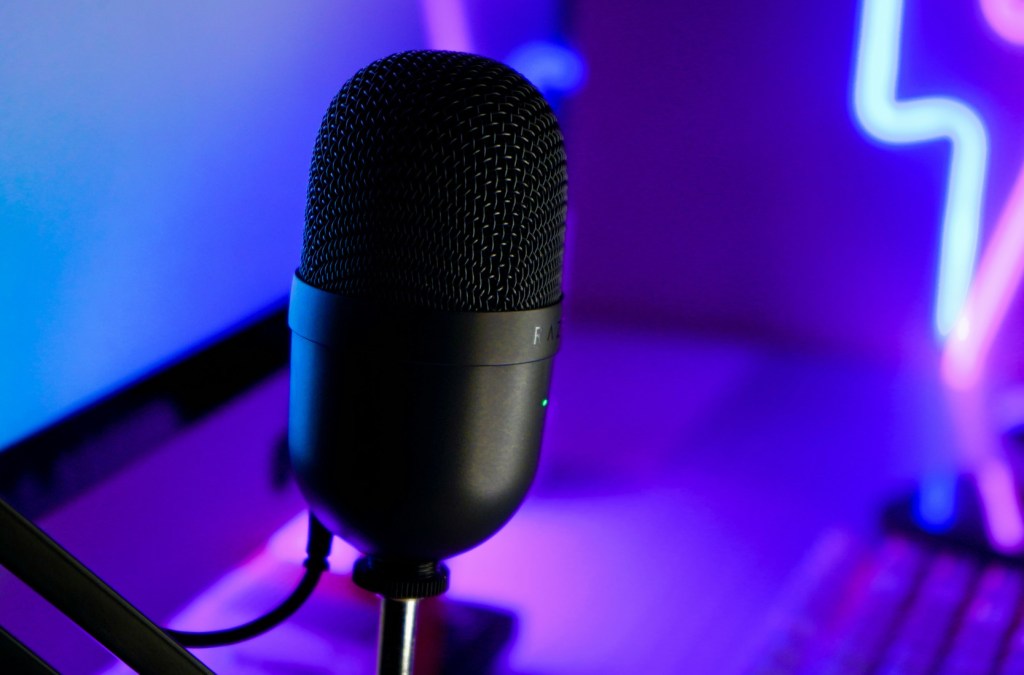
Start with a Decent Microphone
If you’re using your headset mic or your laptop’s built-in microphone, your first upgrade should be an external mic. USB microphones are perfect for beginners because they’re plug-and-play, affordable, and a massive jump in quality.
You don’t need to dive straight into expensive XLR setups. In fact, I don’t recommend that when you’re just starting out. You’re better off getting something simple that sounds good and is easy to manage.
Need help picking one? I put together a full breakdown of the best microphones for streamers and content creators, including budget picks and what to avoid.
Step-by-Step: How to Improve Your Mic Quality
Let’s talk setup. Here’s what you need to do to make sure you’re getting the most out of whatever mic you have:
1. Mic Placement Matters
Where your mic sits in relation to your mouth can totally change how you sound. The closer you are, the warmer and fuller your voice will be. But if you get too close without a pop filter, you’ll get harsh “P” and “B” sounds (called plosives).
Start with this setup:
- Mic about 6-8 inches from your mouth
- Slightly off to the side (not directly in front)
- Use a pop filter or foam cover
Try a few recordings and adjust until you sound clear without distortion.
2. Adjust Your Input Gain
If your mic is too quiet, people won’t hear you. If it’s too loud, you’ll clip (that awful crackly sound). You want your voice to hover around -12 to -6 dB when speaking normally. This gives you a good buffer for louder moments.
Check your mic levels in:
- Your mic’s control software
- Your computer’s sound settings
- OBS Studio (if you’re streaming with it)
Pro tip: Avoid maxing your input volume just to be heard. If your levels are low, turn up the gain slightly or move the mic closer instead.
Fine-Tune Your Sound with Filters (Start with Your Mic’s Software)
Before jumping into OBS filters, check if your mic has its own software—because honestly, that’s usually the better place to start.
Apps like Logitech G Hub (for Blue Yeti mics), Elgato Wave Link, or Razer Synapse often give you more control and cleaner processing than OBS. Plus, the settings apply across your entire system, so your voice sounds good on Discord, Zoom, and everywhere else—not just your stream.
Look for tools like:
- Noise suppression to cut background hum
- EQ (equalization) to shape your voice tone
- Compression to balance volume levels
- Limiter or gain controls to avoid clipping
Most of these tools come with presets, so even if you’re not an audio nerd, you can get great results quickly. Tweak as needed, and once you’re happy with how it sounds, you can move on to OBS for any extra polish.
Still Need More Control? Add Filters in OBS
If your mic doesn’t come with built-in software—or you want additional tuning for your stream, OBS Studio has built-in audio filters that can take your mic to the next level. Here are a few you should know about:
1. Noise Suppression
This removes constant background sounds like fans, AC hum, or the low whirr of your PC.
- In OBS:
Right-click your mic source → Filters → Add → Noise Suppression - Choose RNNoise as your starting method. It sounds more natural than the default Speex option.
In the past, I’ve had issues with RNNoise causing my mic to sound very poor despite it being the ‘better’ option. If you also have this issue, feel free to use the Speex method with a suppression level that filters out any ambient noise in your environment.
2. Noise Gate
Tells OBS to only let sound through when your mic picks up audio above a certain level.
Try these starting values:
- Close Threshold:
-40 dB - Open Threshold:
-32 dB
Tweak until your voice comes through clearly without cutting in and out. No need to adjust the Attack Time, Hold Time or Release Time.
3. Compressor
Smooths out your volume, making loud moments quieter and quiet moments louder so your voice stays consistent.
Starter settings:
- Ratio:
3:1 - Threshold:
-18 dB - Attack:
6ms - Release:
60ms - Output Gain:
+3 to +5 dB- If you’re someone that speaks loudly or if your mic is very sensitive, you can leave this at 0.
Especially helpful if you get excited or shout during gameplay—it keeps your audio from blowing out your viewers’ ears.
4. Limiter
Helps prevent your audio signal from peaking, which can cause clipping and distortion.
Try these starting values:
- Threshold:
-6 dB - Release:
60 ms
While the compressor will generally do a good job at lowering your mic peaks, it’s not foolproof, so the limiter helps make sure your audio has a strong stop point.
Filter Chain
One final thing to note is that the way the filters are outlined above is also they should be in your OBS Studio Audio Filters list. So to recap, the order should be:
- Noise Suppression
- Noise Gate
- Compressor
- Limiter
Save Your Settings
Once you’ve dialed everything in—whether in your mic software, OBS, or both—save your settings or create a preset. That way, you’re not starting from scratch every time you go live.
Next Step: Level Up Your Mic
Now that your settings are solid, the next best way to improve your audio is to upgrade your gear. If your mic is still crackly, too quiet, or overly sensitive, it might be time to move on from the built-in laptop mic or that budget headset you bought awhile back.
Check out my guide on the best microphones for streaming for the full list of beginner-friendly, high-quality options. Whether you’re on a tight budget or ready to spend a little more, there’s something in there that will be a huge upgrade for your sound.
Final Thoughts
You don’t need a pro studio to sound professional. With the right mic, good placement, smart use of filters, and a few tweaks to your setup, your stream can sound miles better than it did before.
Take it one step at a time. Test things out. Record yourself. Ask a friend for feedback. And don’t stress—you’re learning, and each tweak you make is one more step toward a polished, pro-sounding stream.


Leave a comment